
When May began, I found myself in the most fascinating workshop ever. Like something out of a different place and time, I set all of my own type and printed my very own posters on an old printing press. I briefly wrote about this workshop here, on the Buoyant Echo blog.
Michelle Yu is the master printer over at The Gentlemen's Press. You may recall me mentioning The Gentlemen's Press in previous blog posts, as it also houses Monster Gallery where this and this took place. Quiet and introspective, Michelle guides learners in this vintage printing process by example and show & tell.

To start off--before talking us through anything or showing us the tools--she had us view this informative video. I thought I would share it with you here, as it's a great motivator for exploring new techniques.


Then she started showing us the various tools and equipment used in this process. The plate on the top left was created in an acid bath and the plate on the top right is basically made out of a plastic/resin-type material.
The image below shows various metal blocks, letters, and patterned spacers locked and ready for printing.


Then she showed us all of the different types of presses she has in the studio. The one above is the one we ended up using for the workshop. The one below is generally used for larger quantities.

And the one in the following image is a desktop printer.


Finally she showed us a giant cabinet with skinny drawers filled with hundreds and hundreds of metal and wood block letters. And she kind of just let us loose . . .


Wanting my poster to sort of resemble an old circus advertisement, I collected a variety of different sized letters made with different fonts. Here's the trick about setting type by hand, everything has to be backwards (letters and sentences). So I had to think very differently to put this together.
Then, once everything is laid out, you have to fill in all of the spaces with wood or metal pieces that won't be printed, but keep the letters in place. All of this is done in a metal frame that gets locked on two sides. So if you don't have the spacers tight enough or in the right places, when you pick it up, everything will fall out onto the table. (Thankfully this happened to me after I had already printed my posters.)
Putting in the spacers is kind of like playing Tetris, and is super great for frequent jigsaw puzzlers or people with OCD. It took almost 2 solid hours for me to place all of my spacers and ready my plate for printing (and I was the first person finished).


Adding color was the part I loved the most. I love the sound and smell of the sticky ink when it's being rolled out on a plate. I chose blue and gold, and kind of merged them in the middle.

Here I am inking up my plate and getting ready to make a test print.


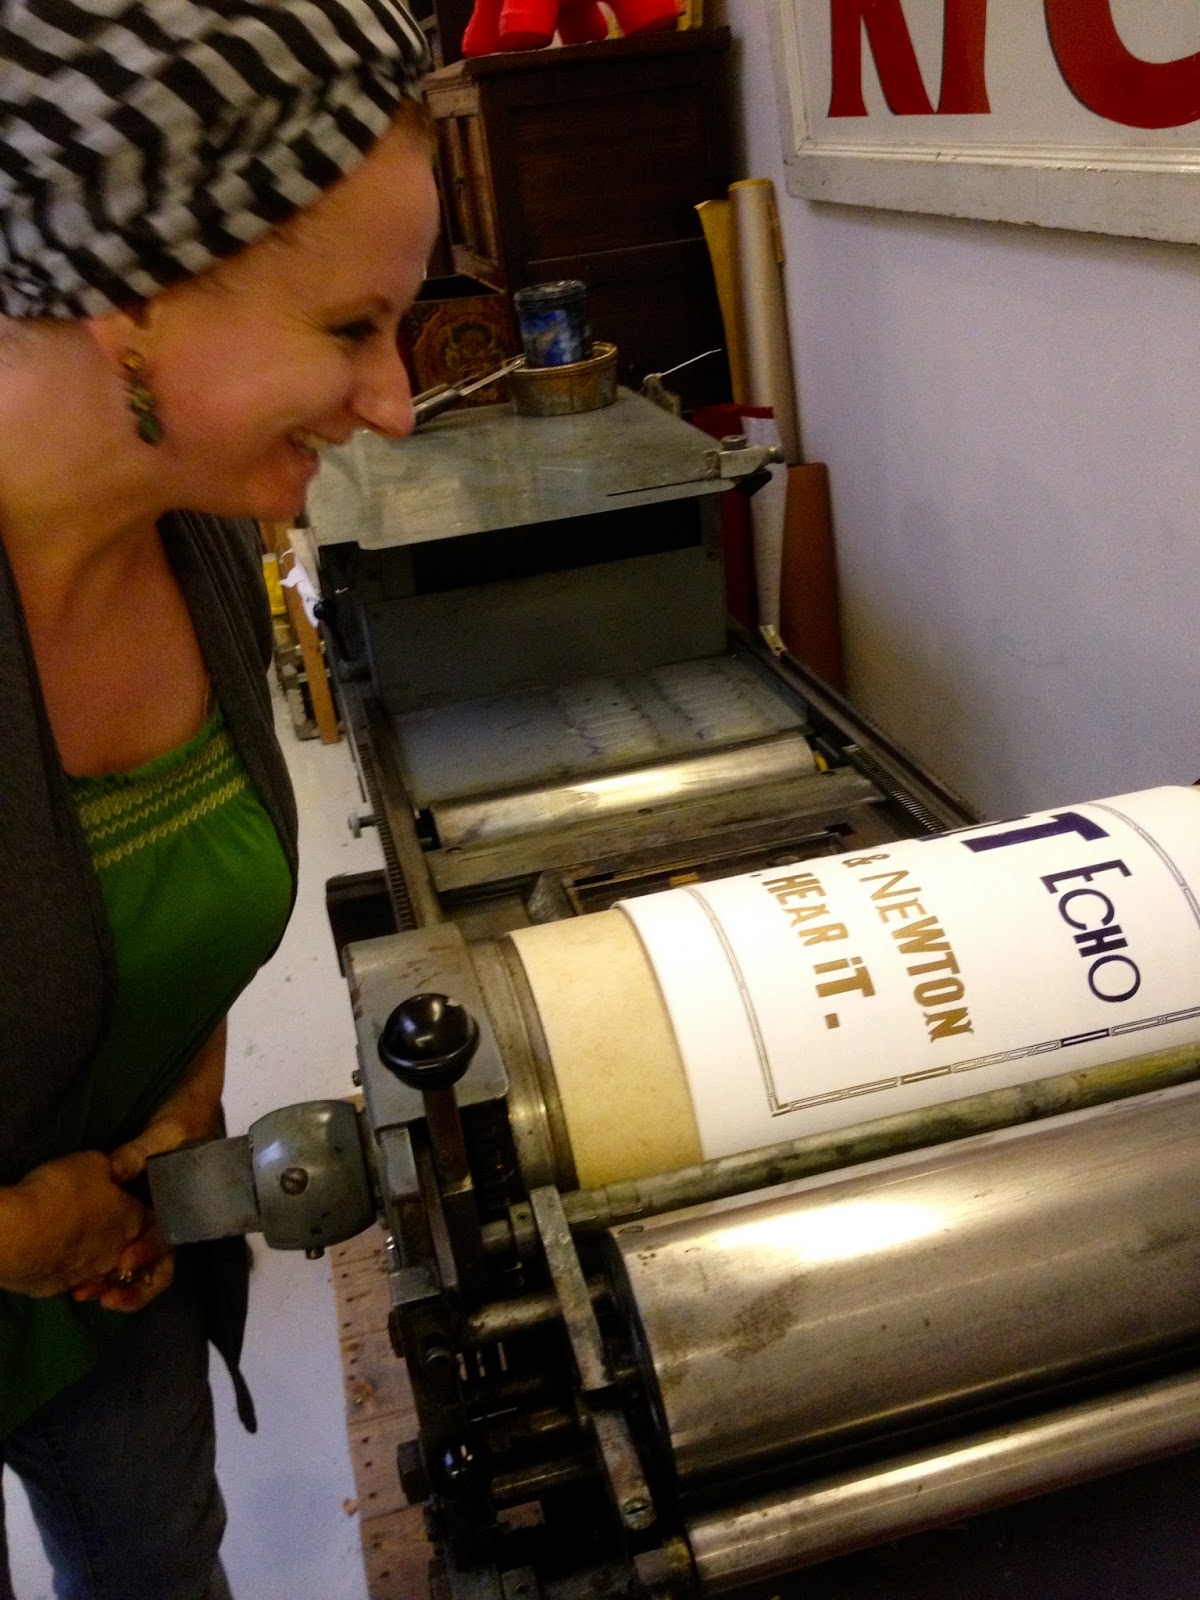
This video is hilarious. I had someone film me on my phone to show just how much strength it takes to make one print. I ended up making 6 prints, inking my plate in between each one.


I was very pleased with how it came out . . . It's made me think about printing in a new way. We are so hands-off and digital these days. I loved going back in time and thinking about newspapers, advertisements, and posters being printed this way on a daily basis. It was nostalgic and romantic. And I can't wait to take another class with Michelle very soon.


To learn more about Michelle and what she does at The Gentlemen's Press, watch the beautifully made video above.
In Singapore and interested in taking a class? Follow The Gentlemen's Press on Facebook and Twitter to find out when the next workshop will be.
Print on, fellow makers!!

No comments:
Post a Comment